

Commercial restroom layouts
Toilet partitions & bathroom stalls
Explore 1–6 stall layouts, then choose your materials and options.
Choosing a material? Compare the five material options
Layouts 96
A mix of stall counts and room configurations.
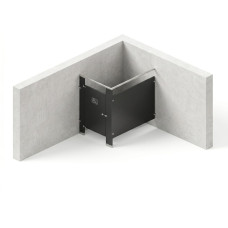
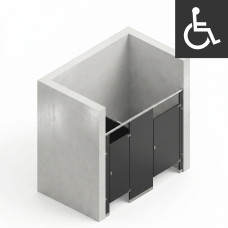
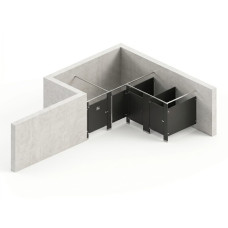
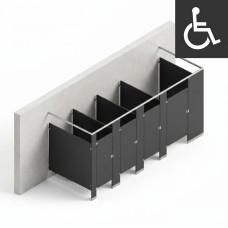
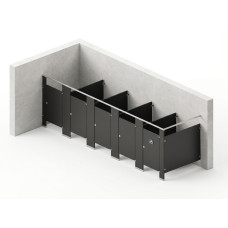
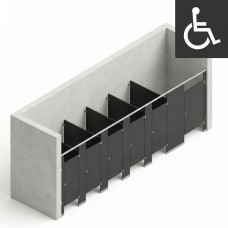
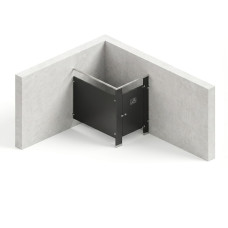
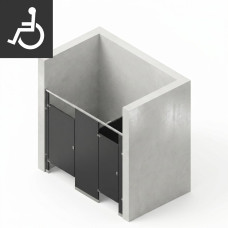
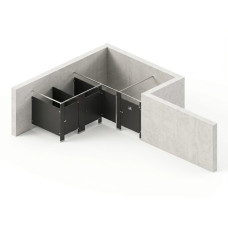
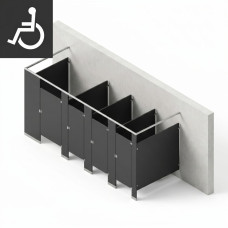
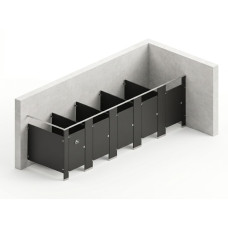
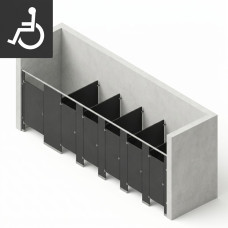
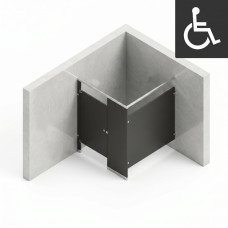
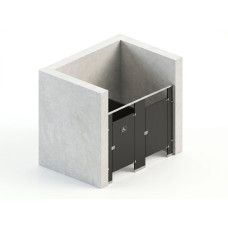
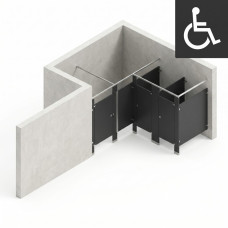
Showing 1 to 15 of 96 (7 Pages)
Materials and selected options affect the price. Open a layout for its available choices and configured price.
Choose the material after the layout
Compare toilet partition materials
Consider moisture, cleaning, finish and budget. The guides below explain each material; check the available choices on your selected layout.
Powder-coated steel
- Best fit
- Dry, everyday commercial restrooms.
- Main advantage
- Budget-conscious pricing and a choice of painted colors.
- Tradeoff
- Frequent moisture is a poor fit; consider solid plastic for wet rooms.
Plastic laminate
- Best fit
- Dry rooms with a specific color or pattern.
- Main advantage
- Broad decorative choices at a value-oriented price point.
- Tradeoff
- Particleboard-core systems need protection from persistent moisture.
HDPE solid plastic
- Best fit
- Moisture-prone restrooms, including pool and locker-room settings.
- Main advantage
- Solid plastic with color throughout and moisture-resistant construction.
- Tradeoff
- Typically costs more upfront than powder-coated steel; compare the selected system.
Solid phenolic
- Best fit
- Moisture-prone spaces where decorative finishes also matter.
- Main advantage
- Dense compact laminate with a wide choice of colors and patterns.
- Tradeoff
- Plan for a higher initial budget than powder-coated steel.
Stainless steel
- Best fit
- Dry interiors where a stainless finish is a priority.
- Main advantage
- Brushed and embossed options create a distinctive metal finish.
- Tradeoff
- A premium price point; check the chosen construction before specifying for wet areas.
Material families vary by manufacturer and series. Confirm the chosen product’s construction, available finishes and specifications.
Before you order
Match the layout to the actual room
- Start with the walls and stall count. Compare between-walls, corner, alcove and free-standing drawings. Check the left- or right-hand arrangement against your plan.
- Confirm the dimensions. Include finished wall-to-wall measurements, stall depth, door locations and swing, and fixture positions. Mark obstructions on your drawing.
- Check accessibility in the whole room. An ADA-labeled layout is a starting point. Confirm the required clearances, approach and door swing with your project designer. U.S. Access Board toilet-room guidance.
- Choose the available materials and options. Review material, mounting, panel height and finish on the product page before confirming your selection.